The Kirby Project Hub Theme is an advanced version of Brad Frost’s project hub idea. A project hub is a tool for keeping track of the progress of a freelance project. The hub lives online and is accessible to everyone involved in the project. A project hub consolidates all the key project information onto a single webpage presented in reverse chronological order.
Installation
This is a theme for Kirby, a file-based content management system made by Bastian Allgeier. If you want to learn more about Kirby, visit the website and check out the documentation.
Please remember that Kirby is not free : if you use this theme for a public release, don't forget to buy a license for Kirby too !
Kirby Project Hub can be used as a stand-alone website or as the client area of an existing website.
Learn more about adding a client area to your website.
Kirby Project Hub can be used to track the progress of a small freelance project, but it can also be your project management solution of choice for bigger projects.
Learn more about managing projects with Kirby Project Hub.
To install the Project Hub Theme :
- Upload all files and folders to your server. This includes Kirby 2.2, the Kirby Admin Panel and the Project Hub Theme.
Do not forget to copy the invisible .htaccess file ! - Visit http://yourdomain.com/panel to start Kirby's installer. It will check for any issues with your installation.
- Fill in the signup form to create the first user account.
- Sign in with your newly-created username and password and start adding clients and projects.
Possible issues
- Make sure that the
contentfolder and all subfolders and files are writable - Make sure the
/thumbsfolder exists and is writable - Make sure the
/site/accountsfolder exists and is writable - Make sure the
/assets/avatarsfolder exists and is writable
This Project Hub Theme is compatible with Kirby 2.2. The trial version of this CMS is included for your convenience.
Requirements : Apache 2 with URL rewriting (mod_rewrite) or nginx, PHP 5.4+, PHP mbstring extension for proper UTF-8 support
Browser compatibility : IE 9+, Chrome 19+, Safari 5.1+, Firefox 14+, Opera 15+, recent iOS / Android / Windows Phone

Site Configuration
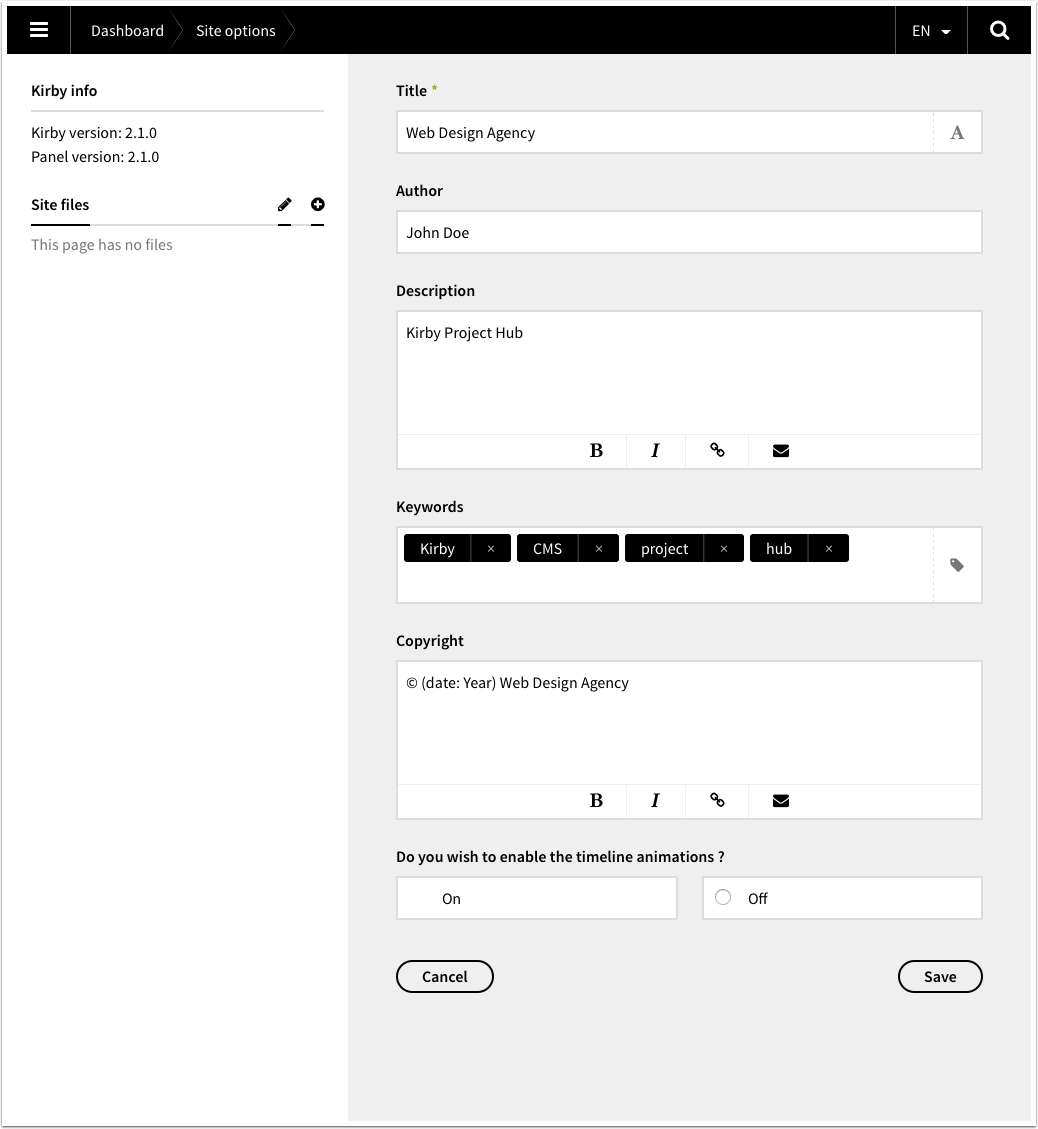
You can change the general site configuration by using the administration panel to edit the site variables or by changing the /content/site.en.txt file manually.
You can edit the title of the website, the copyright information in its footer and the meta data of the site. (description, author, keywords)
You can also enable or disable the timeline animations on this page.
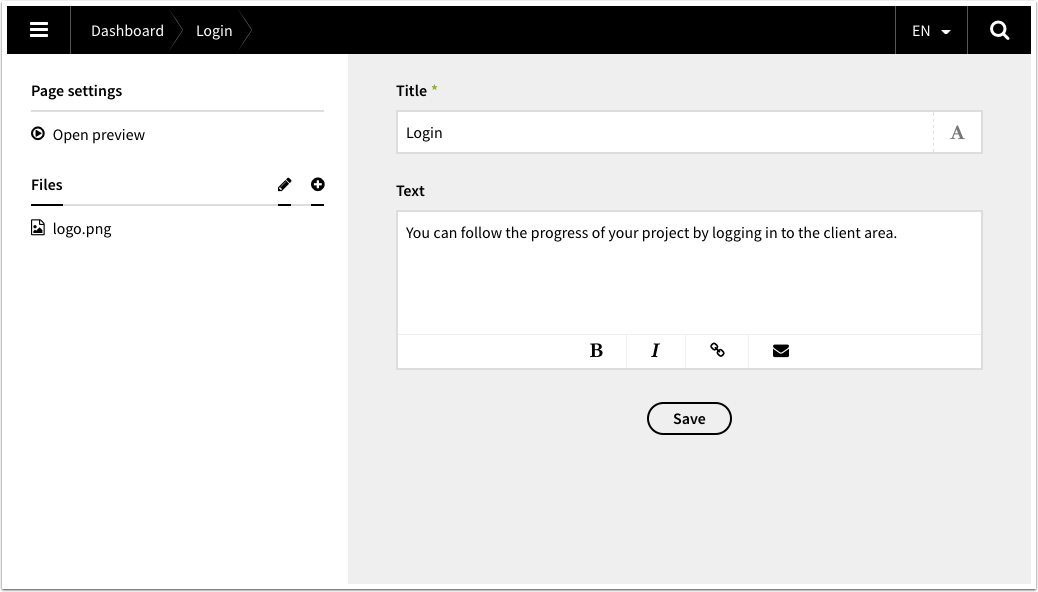
You can modify the introductory sentence in the login page as well as the website logo by editing the login page in the administration panel or manually in the files.
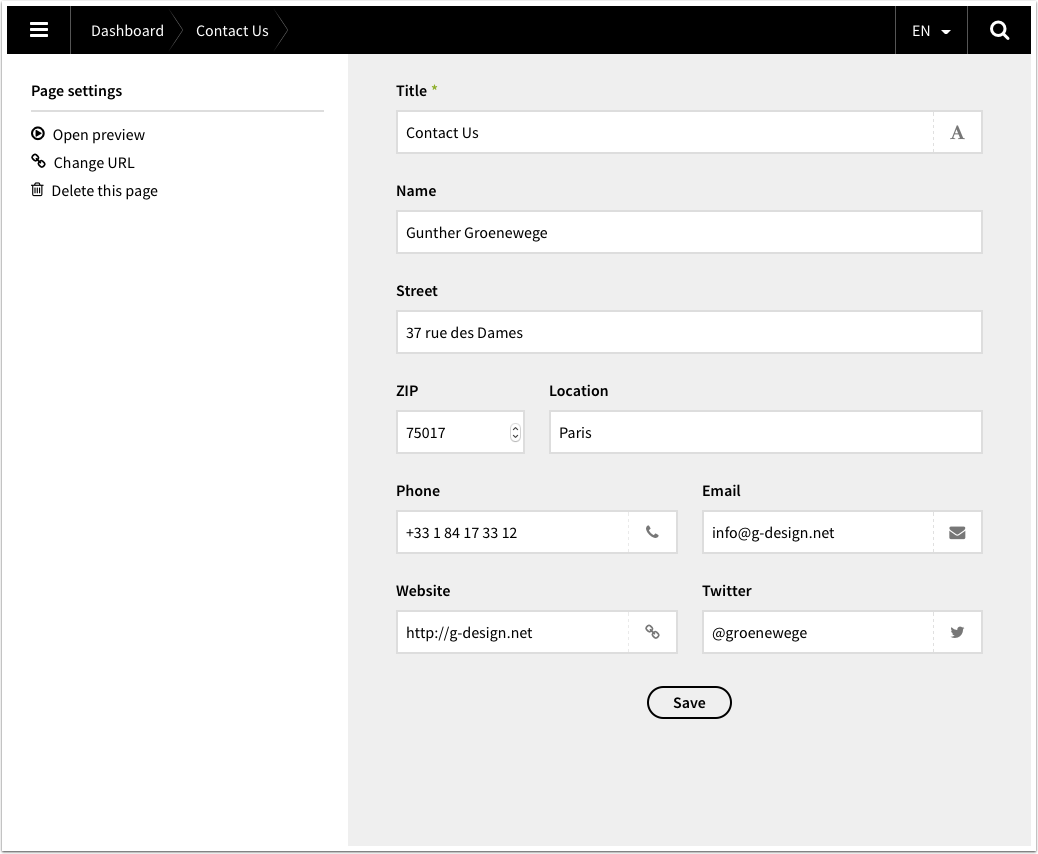
The information on the contact page can be edited through the administration panel or manually in the /content/contact/contact.en.txt file.
Clients
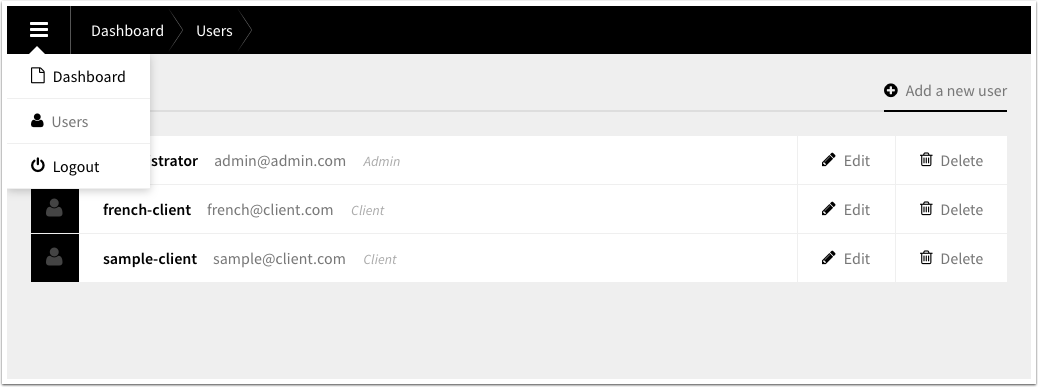
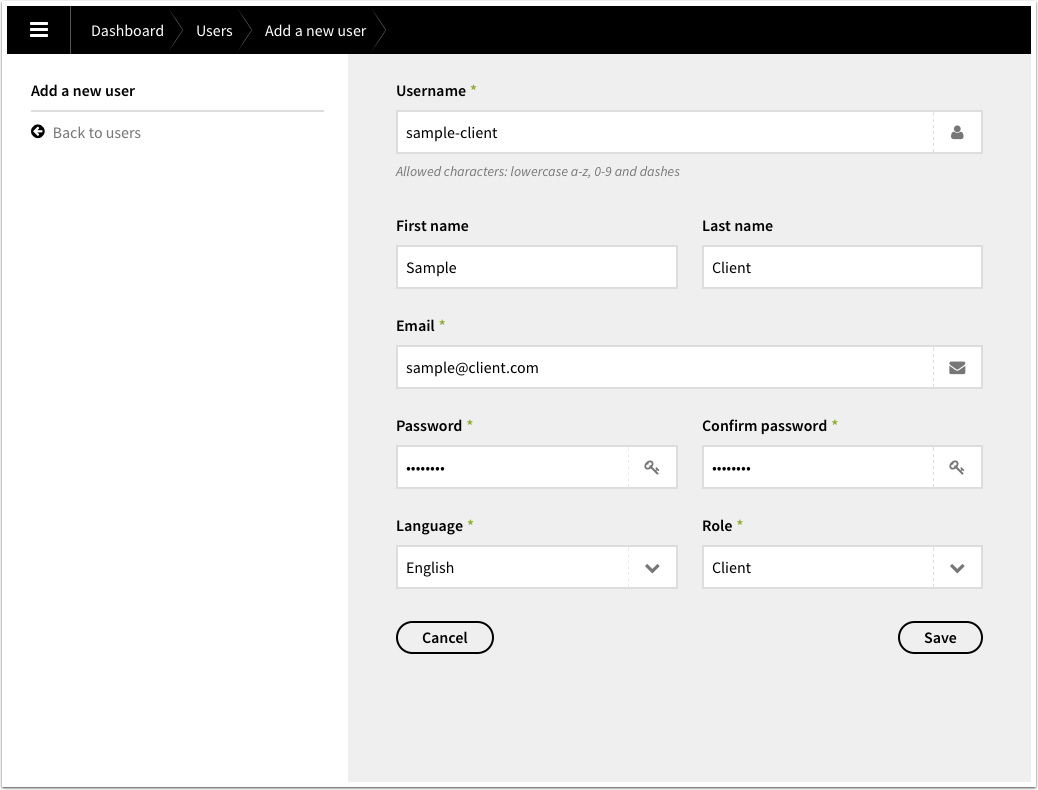
Before creating a project page, you have to add a client. Go to the users section of the administration panel and add a new user.
Fill out the username, email address and password for the new client.
By default the language of a new user is English and the role of a new user is Client.
The user interface of the project page is translatable. Two files are included in the theme, one in English and one in French. Visit the translations repository for more languages.
If you want to use a different language, you can add a new language specification to the /site/config/config.php file and create a new language file in the /site/languages directory. Check out the Kirby documentation for more information about multilingual Kirby websites.
If you wish to switch the default language from English to French, make the following changes to the language configuration in the /site/config/config.php file :
c::set('languages', array(
  array(
    'code'    => 'fr',
    'name'    => 'Français',
    'default' => true,
    'locale'  => 'fr_FR',
    'url'     => '/',
  ),
  array(
    'code'    => 'en',
    'name'    => 'English',
    'locale'  => 'en_US',
    'url'     => '/en',
  ),
));
Projects
To view the list of existing projects, edit a project or add a new one, go to the projects section of the administration panel.
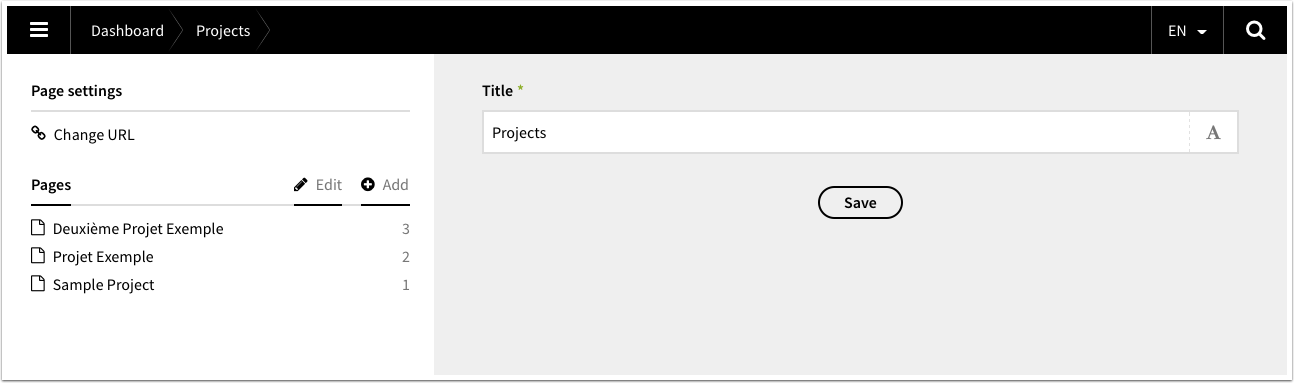
Use the Add button to create a new project page.
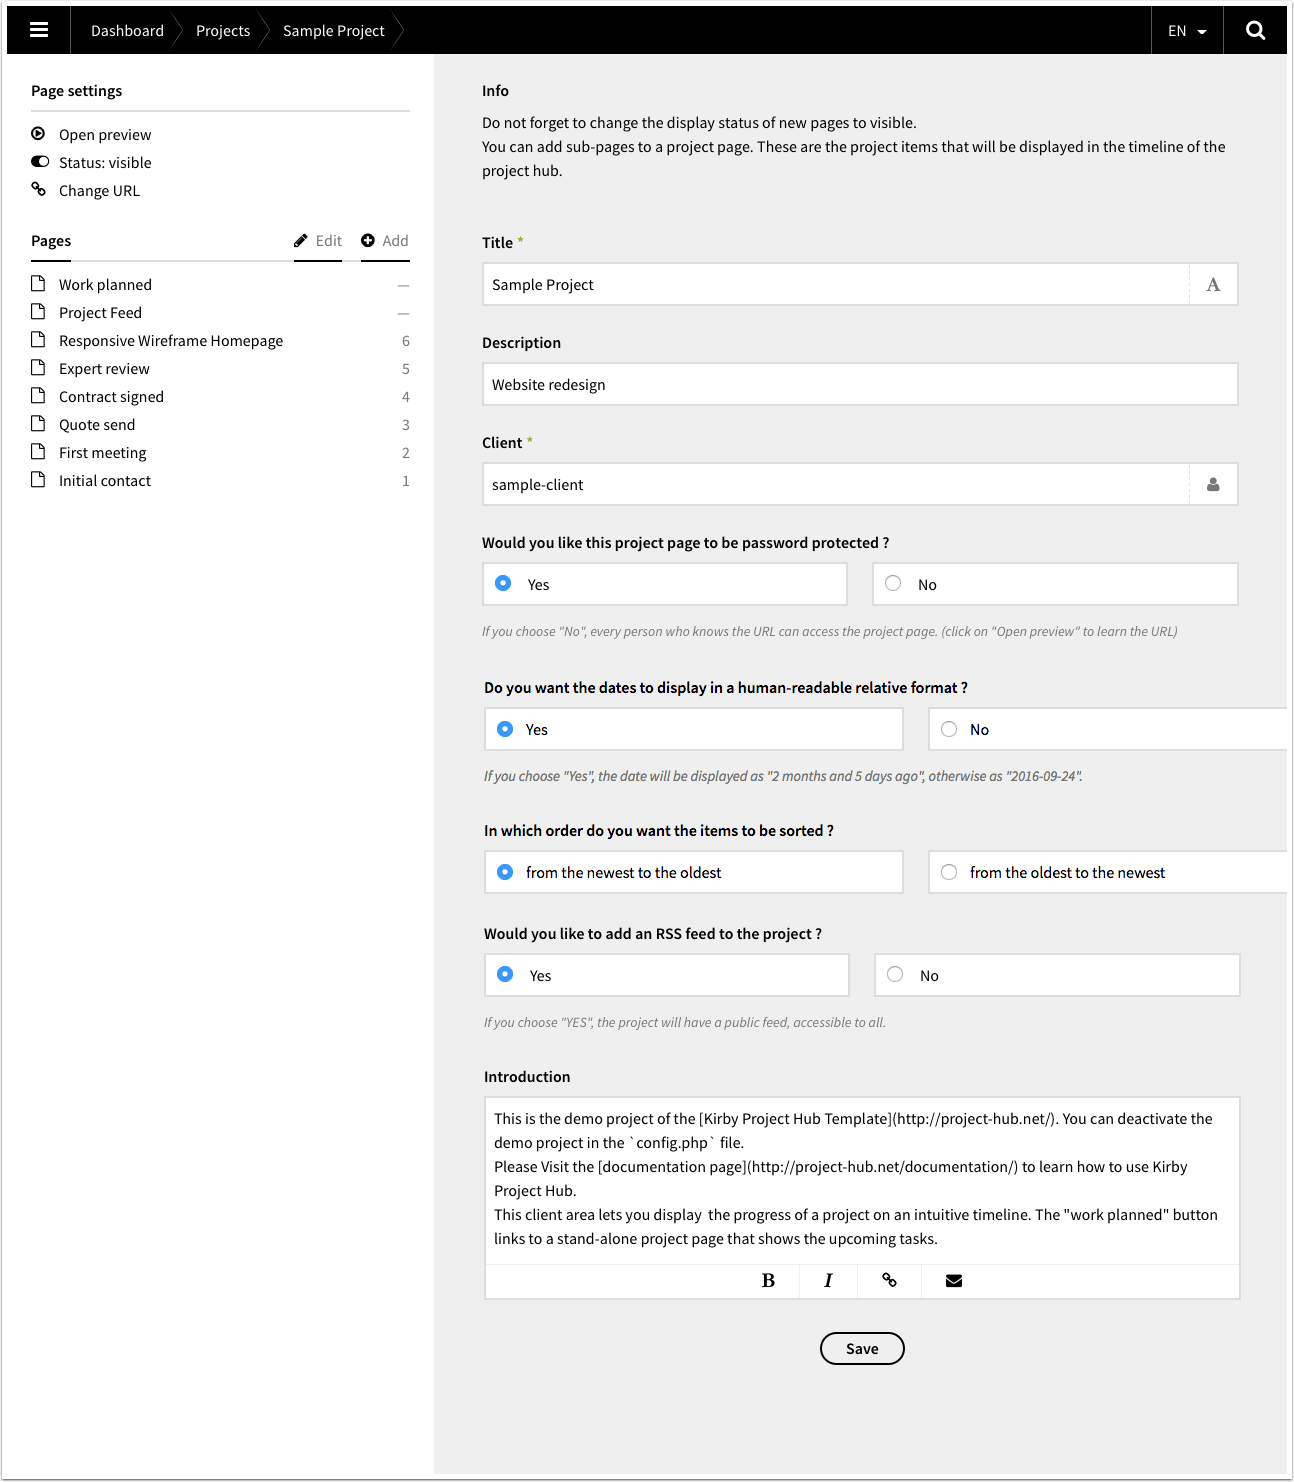
A title and a short description can be added to the new project page.
You must specify if the project page has to be password-protected.
For each project, only one client will be able to visit the password-protected page, so if multiple users need to consult the project hub, they all have to use the same credentials.
If you choose no password protection, every person who knows the URL can access the project page. (click on "Open preview" to learn the URL)
You can select the sort order of timeline items on every project : newest items first or oldest items first.
You can choose if you wish to display the dates in human-readable relative form (i.e. "2 months and 5 days ago") or not (i.e. "2016 - 09 - 24").
You can choose to add an RSS Feed with all the timeline information to a project. If you choose yes, a button to the RSS feed will display below the timeline. Every RSS feed is public, even when a project is password-protected.
It is also possible to add an introductory paragraph to a project page by using Markdown and Kirbytext to format the content in this text area.
A project page has sub-pages. These are the project items that will be displayed in the timeline of the project hub. You can add or edit them.
If you are using Kirby Project Hub 1.2 or lower, every new page or subpage you create in the Kirby administration panel is invisible by default.
It has no sort number and the content does not display on the website. If you are using Kirby Project Hub 1.3 or higher, every new project page and project item is visible by default.
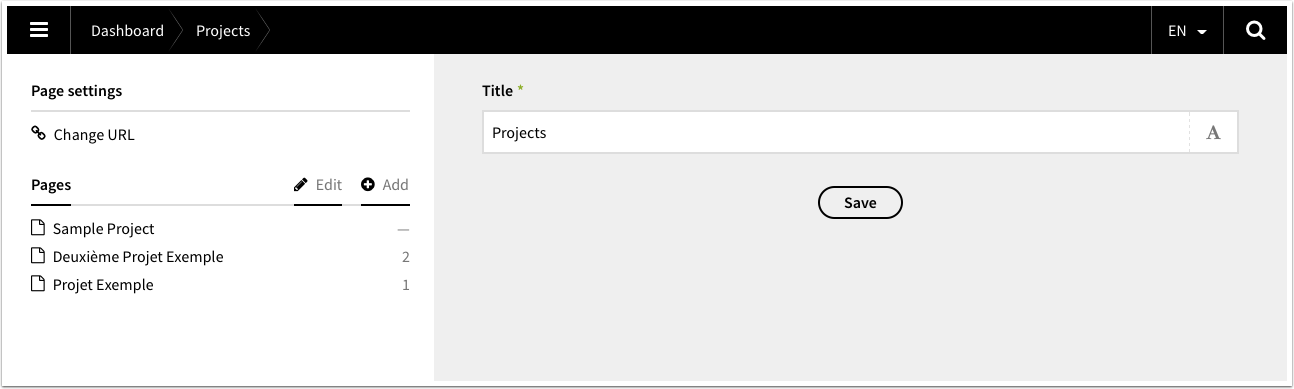
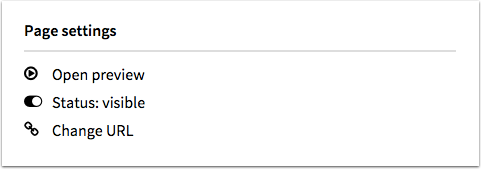
You can use the invisible / visible toggle in the page settings to change the display status of a page.
After creating a project, you can add items to the timeline of the project and you can add a link to a stand-alone page to the project.
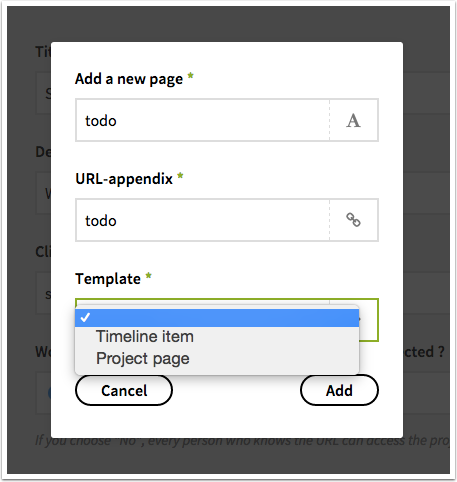
When you click the Add button, a modal window displays where you have define the title of the new item and choose between creating a timeline item and a project page.
A project page is a stand-alone webpage where you can add general information about the current project. (i.e. a page with a list of all the todo items or a page with practical information and administrative data about the project). After creating a project page, a button will be added to the top of the timeline page that links to this stand-alone page. You can keep the status of a project page on invisible, a project page is always displayed.
The Kirby Task List Plugin enables the inclusion of github style todo lists in project pages.
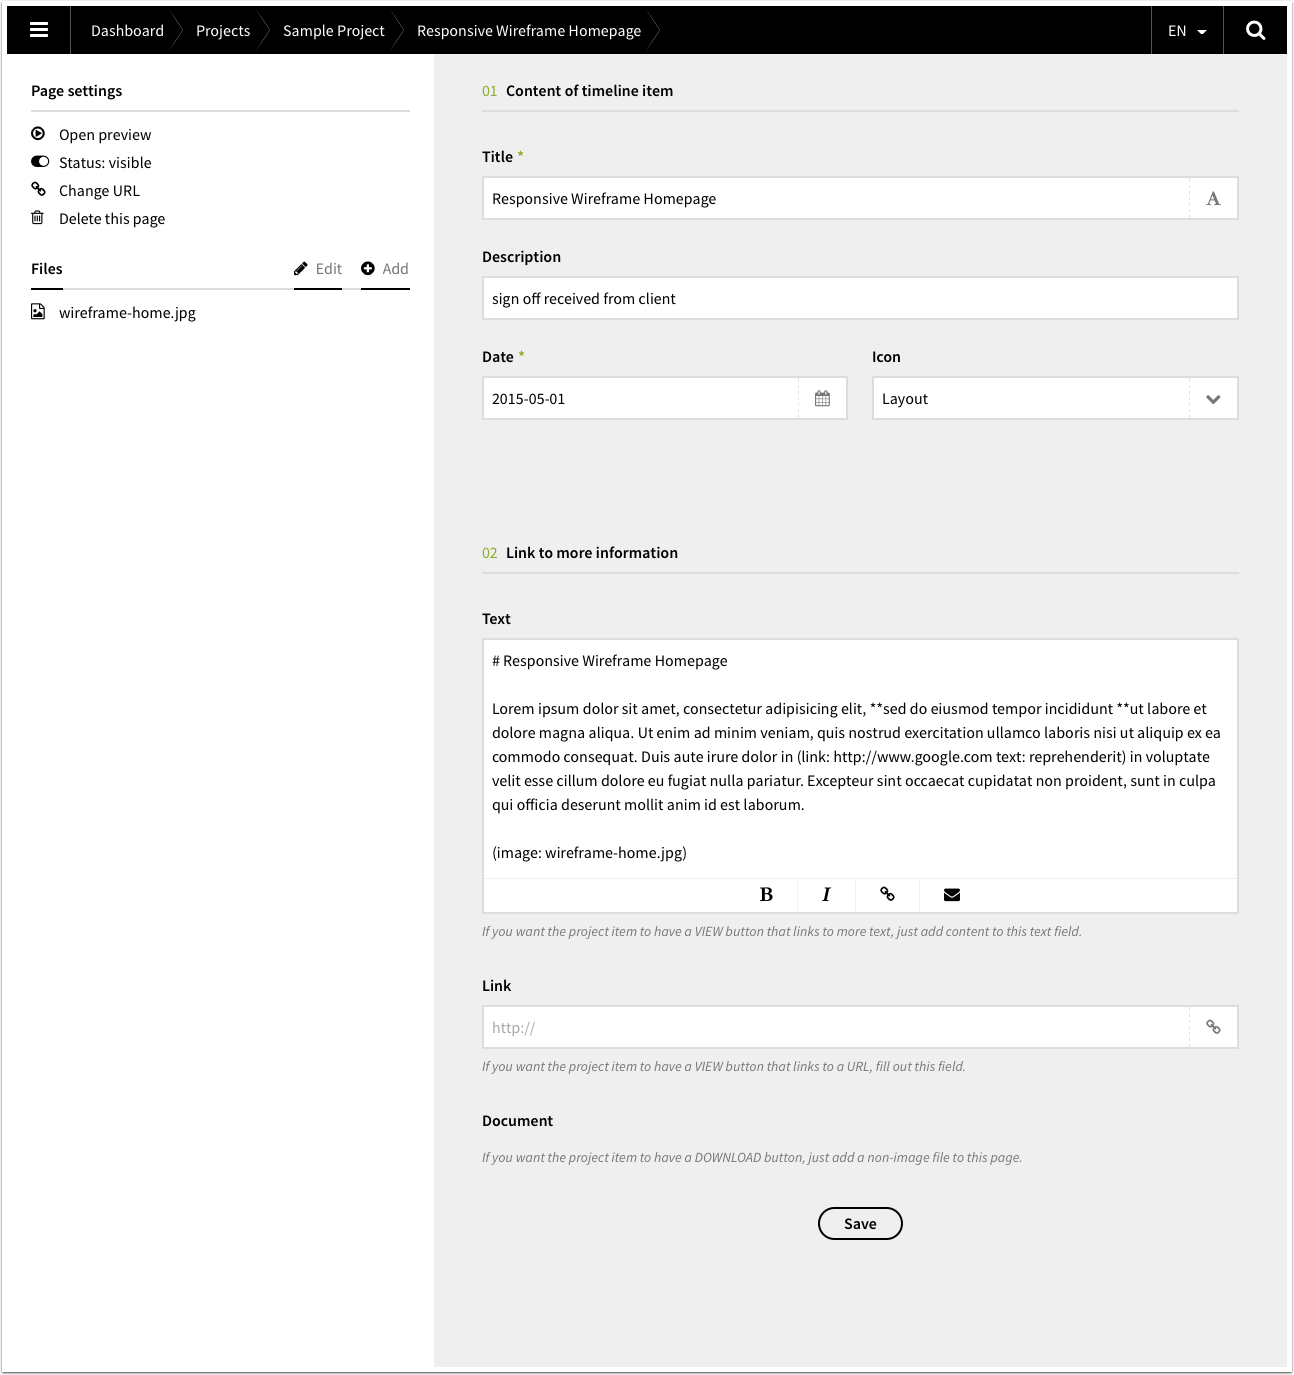
In the administration panel, you can add a project item to the timline by creating a sub-page of a project page. The title and the date of the item have to be defined. You can also write a short description and include an icon.
If you want the project item to link to more information, you have 3 options :
You can add a VIEW button that links to a separate content page by adding text to the text field.
Learn how to use Markdown and Kirbytext to format your content and include images.
The Kirby Task List Plugin enables the inclusion of github style todo lists in these content pages.
You can add a VIEW button that links to a different site by adding the URL to the link field
You can add a DOWNLOAD button that links to a downloadable file by adding a non-image file to this page.
Kirby Project Hub is made by G-design.
If you have any questions about the theme, contact me by email or via Twitter.